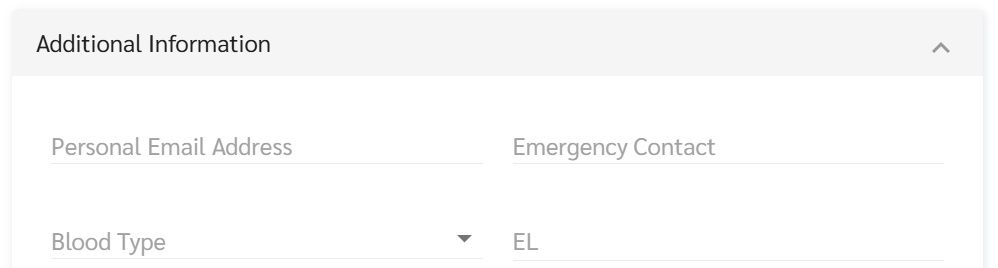
If additional employee information is required (e.g. Emergency Contact Details, Backup Email Addresses, Blood Type) admin can create Custom Fields beyond the system's predefined fields.
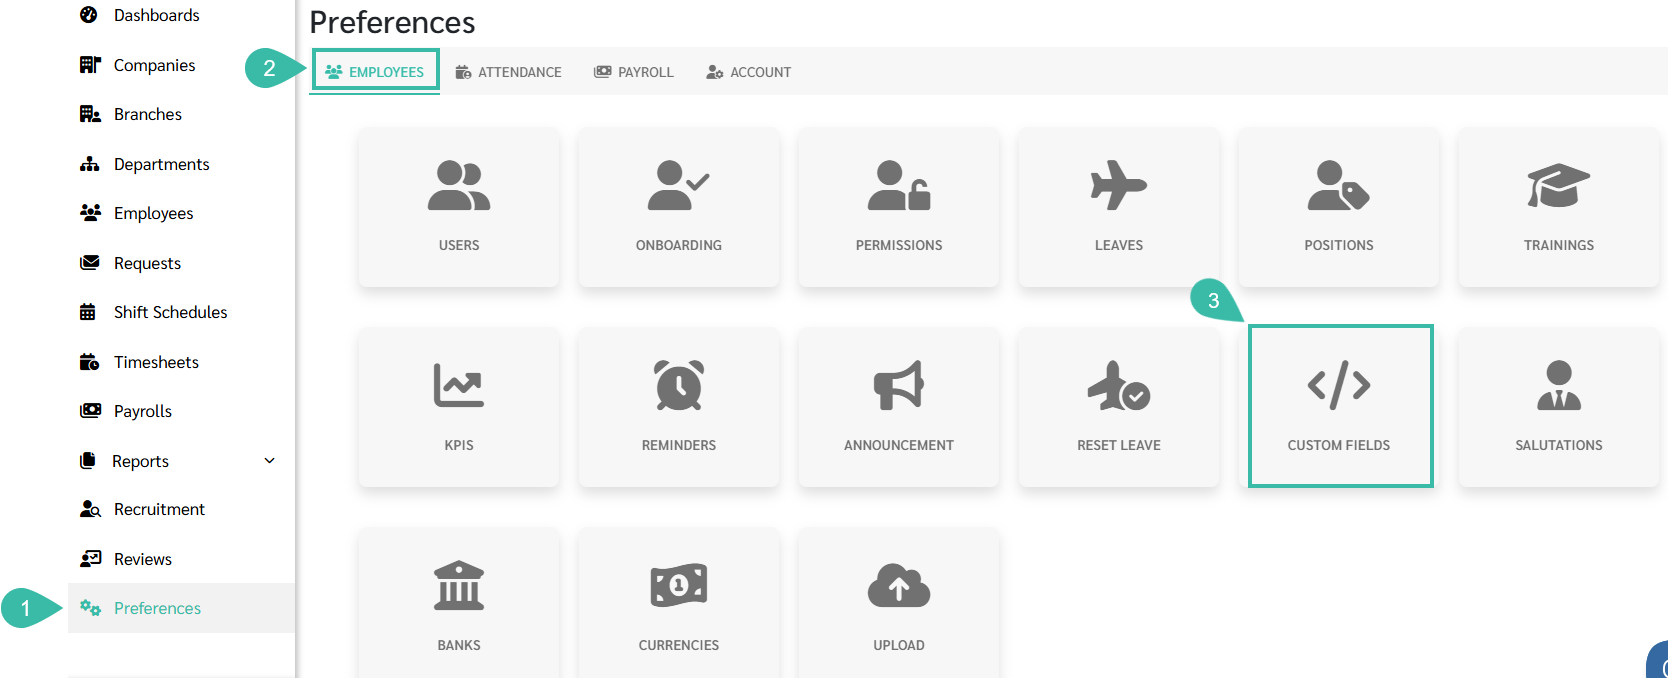
Go to the Preferences tab.
Click Employee.
Select Custom Fields.
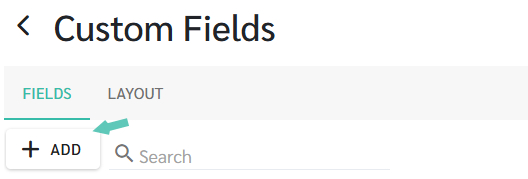
Click + Add to create a new custom field.
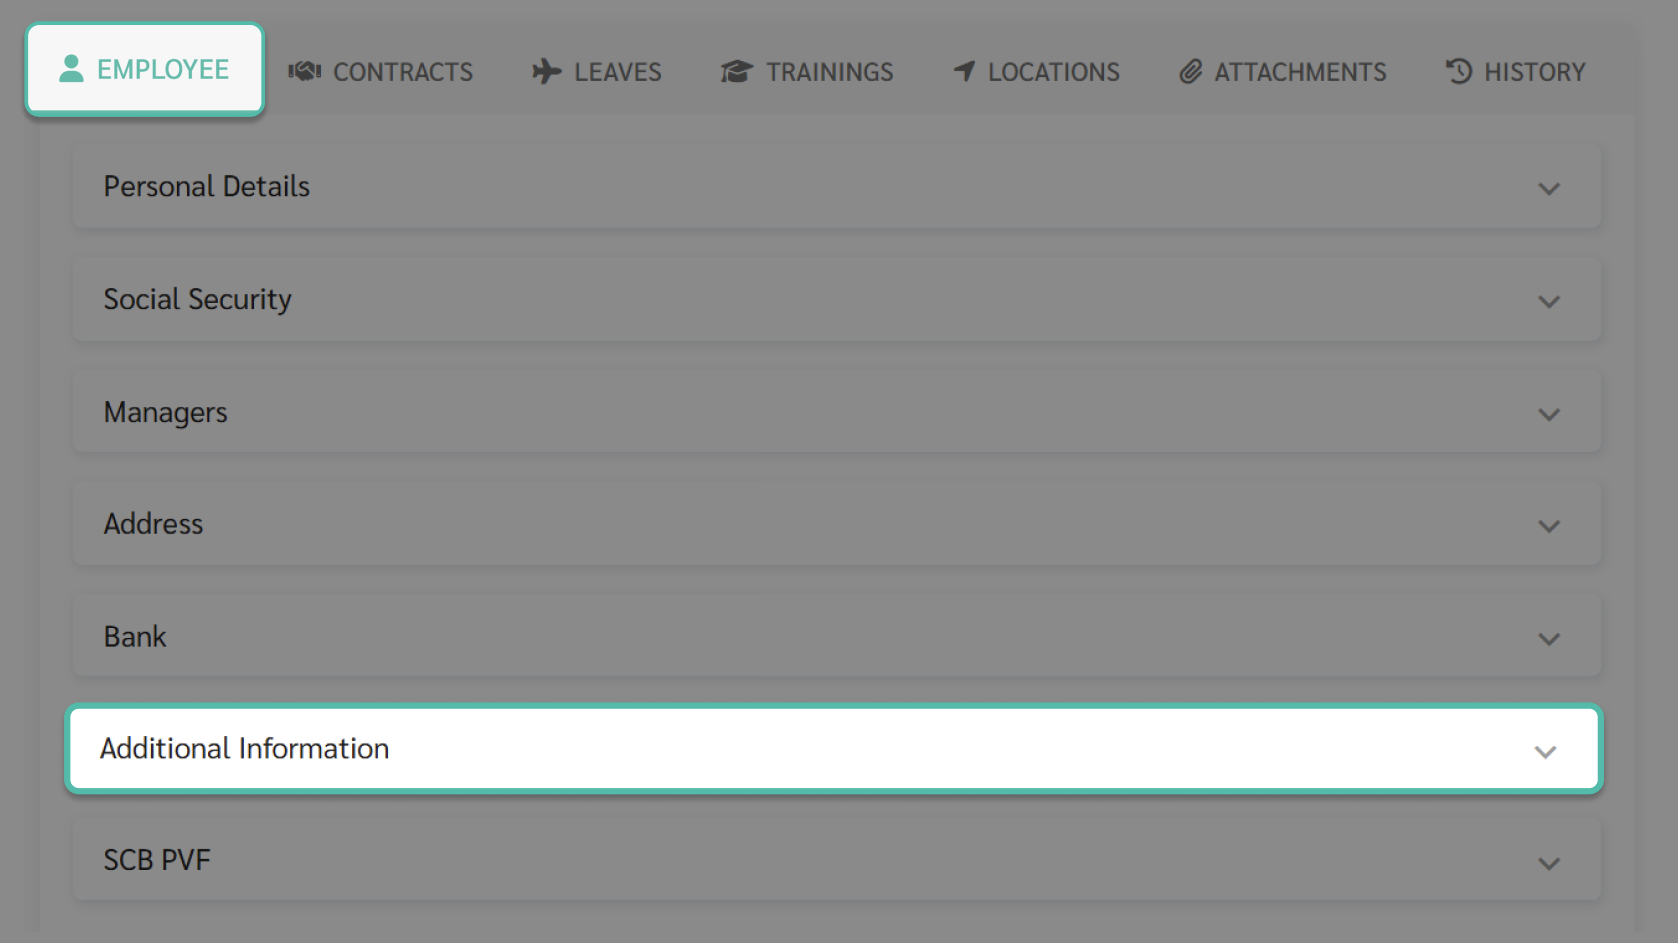
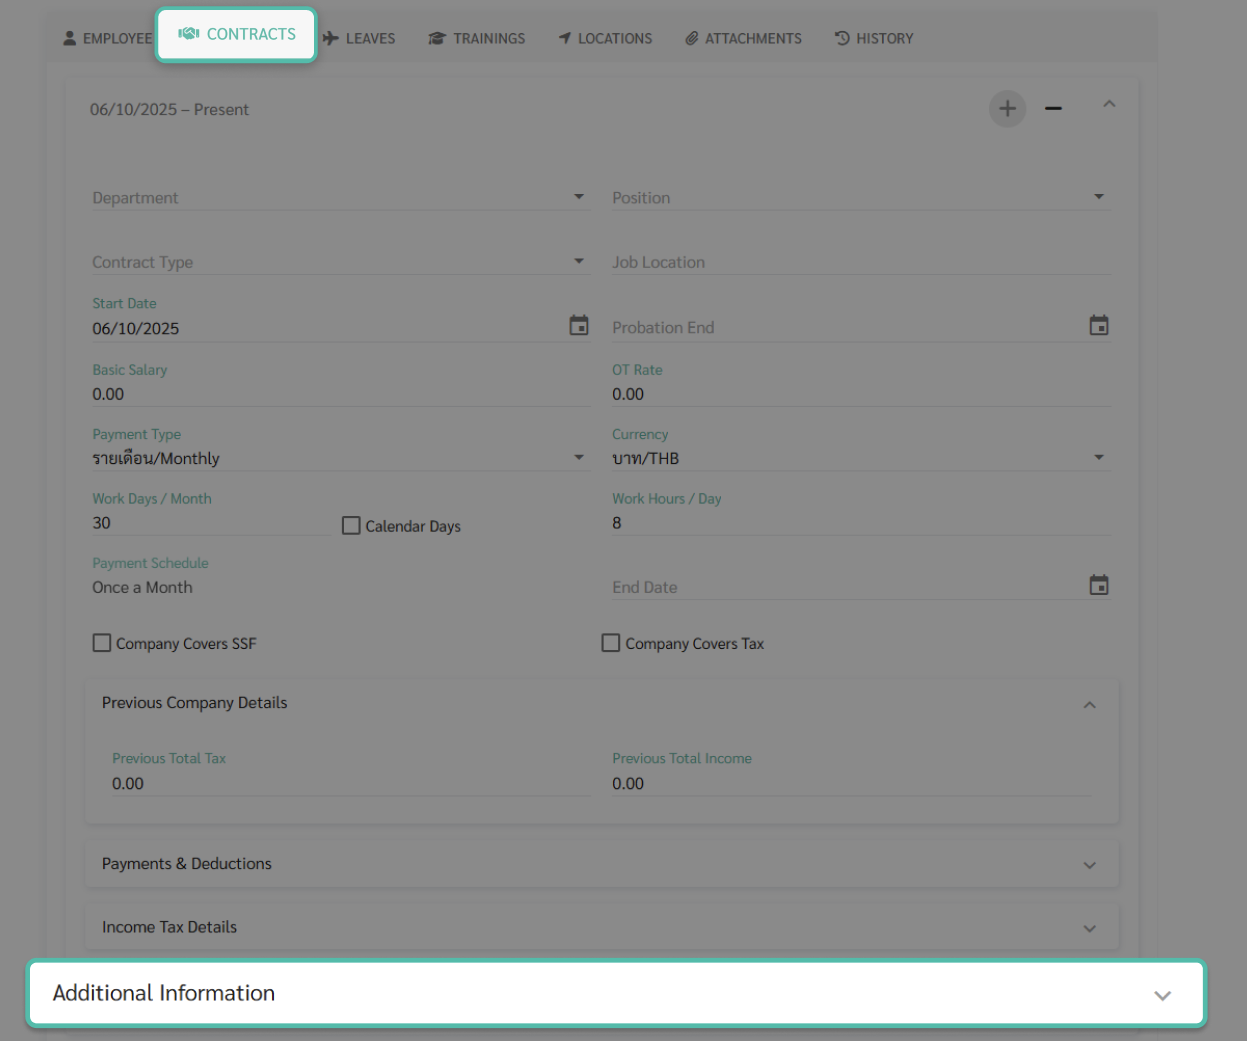
Select where the Custom Field should be displayed: Employee Main page or the Employee Contract page.
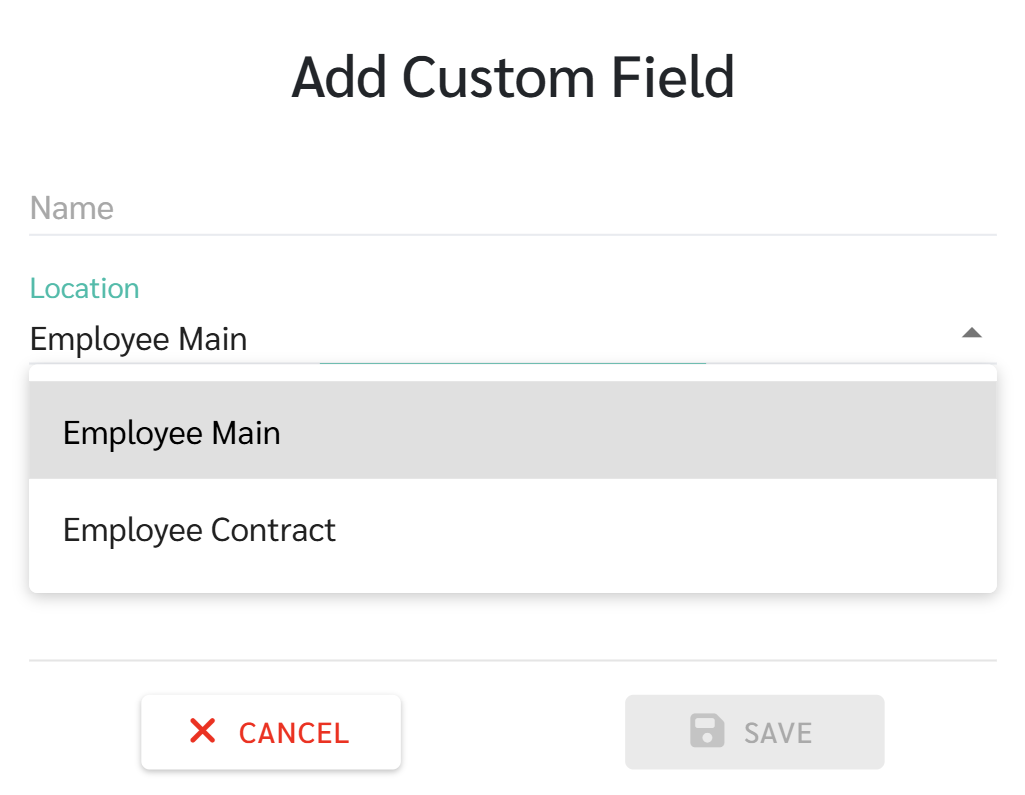
Employee Main page
Contract page
Select the Field Type:
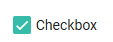
Checkbox: Displays a checkbox that can be ticked.
Example.
Date: Displays a field for recording data in date format. When selected, admins can configure reminders for this field in the Reminder menu.
Example.

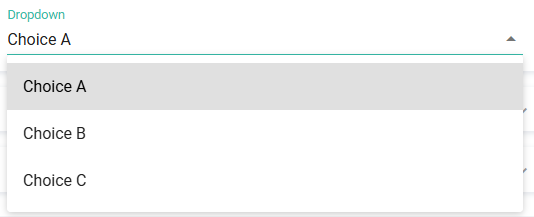
Dropdown: Displays a dropdown list where you can select the desired option.
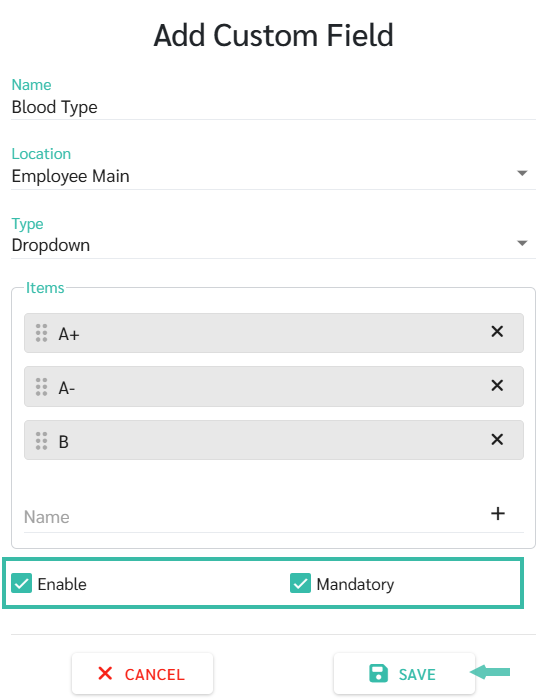
Admins must add the options to be displayed in the dropdown list by entering the option name and clicking the "+" button to add more options.
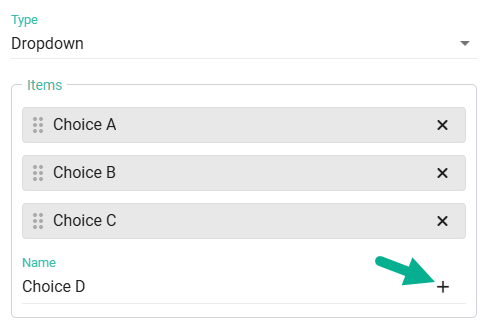
Example
Email: Display a field for entering email-format data. The entered data must be in email format only.
Example

Number: Display a field for entering numeric data. Only numbers are allowed, and leading zeros are not permitted.
Example

Text: Display a free-text field. Any characters can be entered, such as consonants, numbers, or special characters.
Example

Once all settings are configured, tick the “Enable” checkbox. If the Custom Field is required, tick the “Mandatory” checkbox, then click “Save” to apply the Custom Field.
📝Note
The maximum number of fields that can be created depends on the customer's package:
Starter = 10 fields
Basic = 20 fields
Standard = 30 fields
Premium = 40 fields
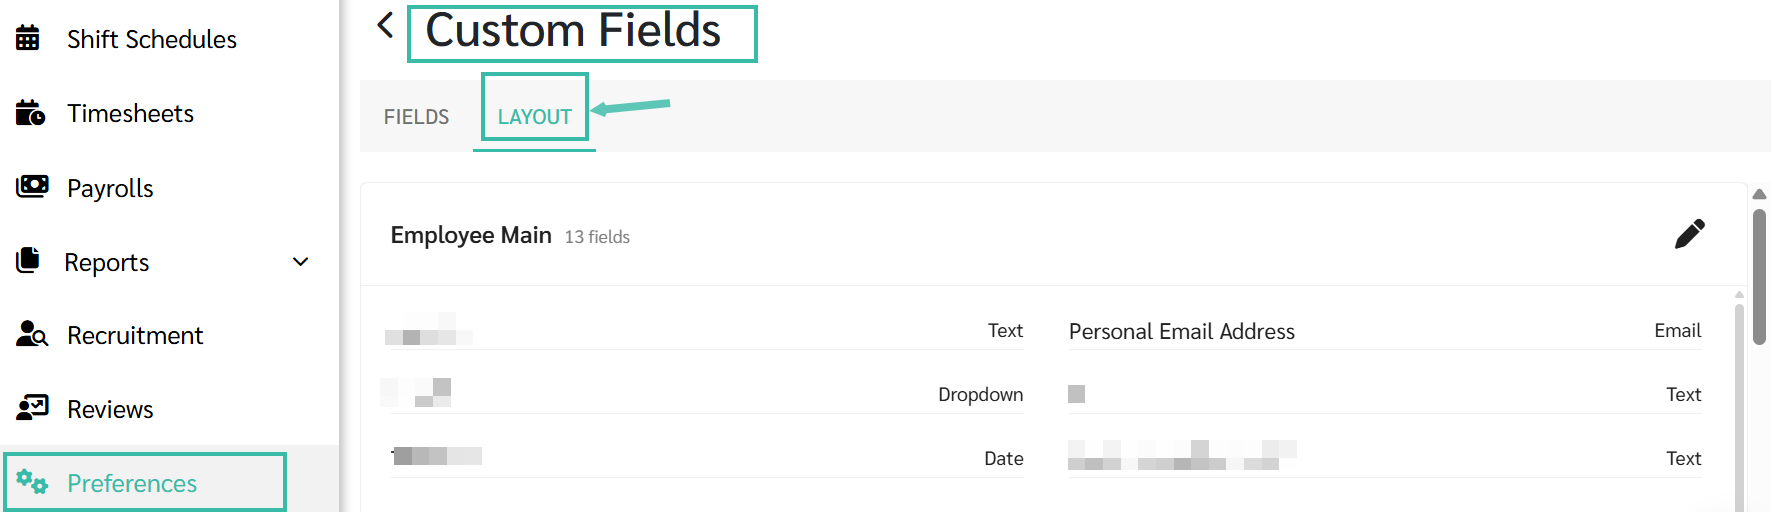
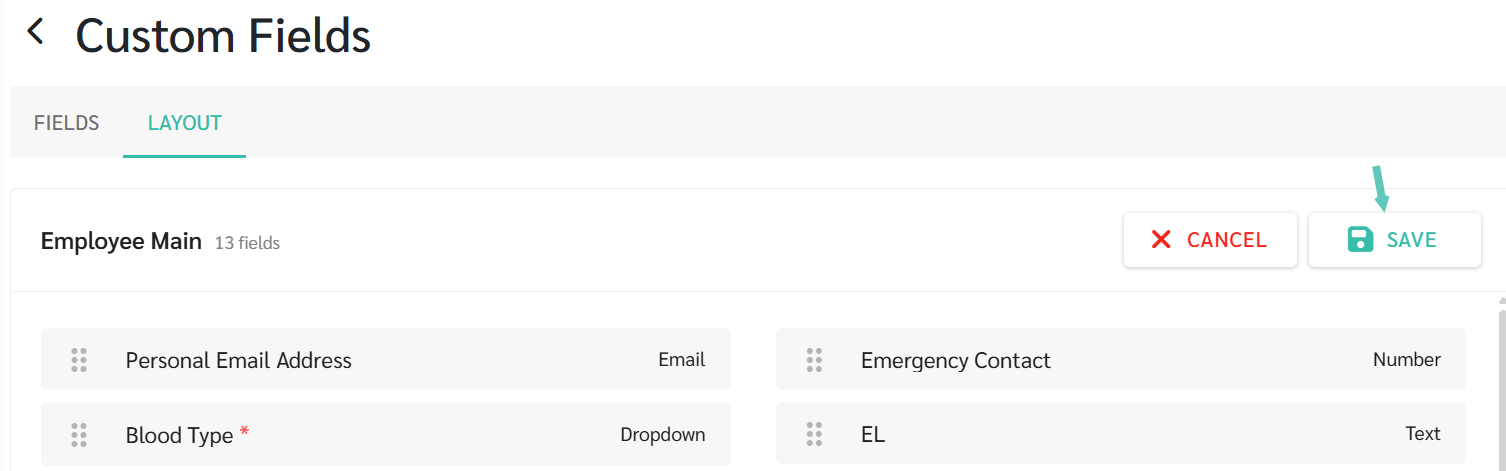
Administrators can configure the order in which Custom Fields are displayed in an employee’s profile under the Layout tab of Custom Field by following the below steps:
Navigate to Preferences > Custom Fields and select the Layout tab.
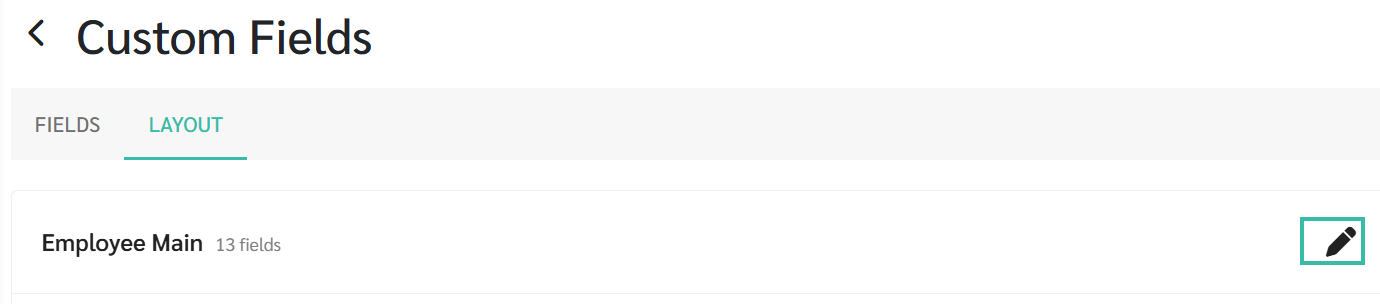
Click the Pencil icon (Edit).
Drag and drop the Custom Fields into the desired order. The order can be configured separately for the Employee Main and Employee Contract sections.
Click Save.
A “Layout Saved Successfully” confirmation message will appear.

The new Custom Field order will be reflected in the employee’s profile.